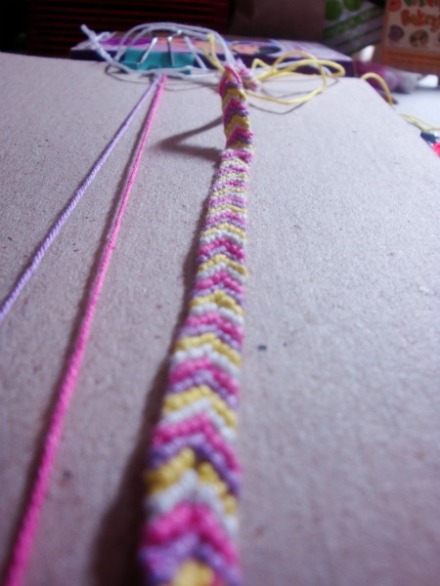
A few days ago, I bought “The Friendship Bracelet Book”, published by Summit Media (it was relatively cheap compared to everything else in Fully Booked). There were three sections, categorized by the difficulty of the patterns. I immediately wanted to try the checkered pattern, and even after 3 re-dos, it was a complete failure. It made my craft ego tear up. I mean, really? Those things are for kids right? With me as an exception of course. I mean, how can fail at this?!?!?! And then I saw this post by Honestly WTF and it made everything better again. Yay! Although, I still had to do some trial and error to make it look flawless (I said look, mind you. Haha, a closer look will tell you how much I fail at making friendship bracelets)
Okay, so I just want to share with you guys what I learned while I was making a friendship bracelet:
(And I apologize for awful pictures. I was too excited to share what I learned and I had to take pictures near a lamp since it’s already night)
1. Cardboard is your friend.
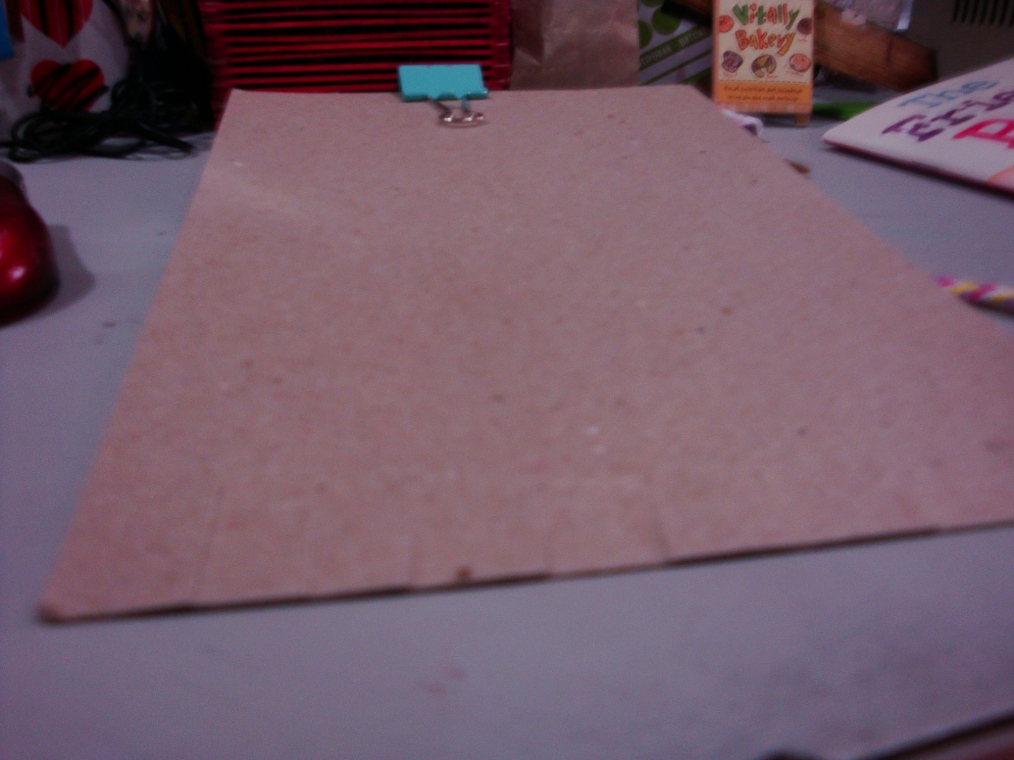
I’ve seen tutorials with instructions to tape the strings to a table or so, but what I do is just staple it to the cardboard, use a binder to hold it in place. Cut slits at the bottom, insert individual pieces of string between the cuts so that the strings wouldn’t move, and you can make your bracelet ANYWHERE. Seriously. I took mine to UP Diliman awhile ago and while we were waiting for the photocatalyst thingy to dry (long, nerdy story) I was making the bracelet.
This is what I did:
Get a piece of cardboard or anything that’s just as thick that you can cut through. I used the one provided in the book (I’m not sure if it was really intended for that purpose though)
Okay, now get your scissors and cut up slits that are around 2 inches long and 2 inches apart. There’s no real rule on how long it is, but the idea here is you need to make slits so that the strings will be held in place while you make your hitches. (hitches = those knots. 2 hitches = 1 “knot”). After this you can make your bracelet as usual~
And another tip! Imagine you have two strings, pink and blue, and you’re making knots with the blue string, I found that the knots looks better if I keep the pink one as straight as possible while I’m pulling my blue string to make a knot.
2. Forgetting if you’ve made two hitches already or not is very frustrating.
I don’t know if it’s just me, but sometimes I get “in the zone” where I just mindlessly make hitches like a zombie and I just suddenly snap out of it and I completely forget if I made just one hitch or if I’ve already completed a knot, and then I take a guess and either continue even if I’ve only made a half a knot or I be extra sure and add another hitch, making an ugly, bulky 1 and a half knot.
“So, genius, what are we supposed to do about it?”
Tell you what. Flip your bracelet on its back. You see those tiny knots? Remember that 2 hitches make a knot at the front? Well, if you look closely, you can see those same 2 hitches at the back. Therefore, you can now easily see if you need to add one more knot or not!!
Well there you have it. I hope I (somehow) helped some of you “troubleshoot” your friendship bracelets :)
Happy Friday!


